
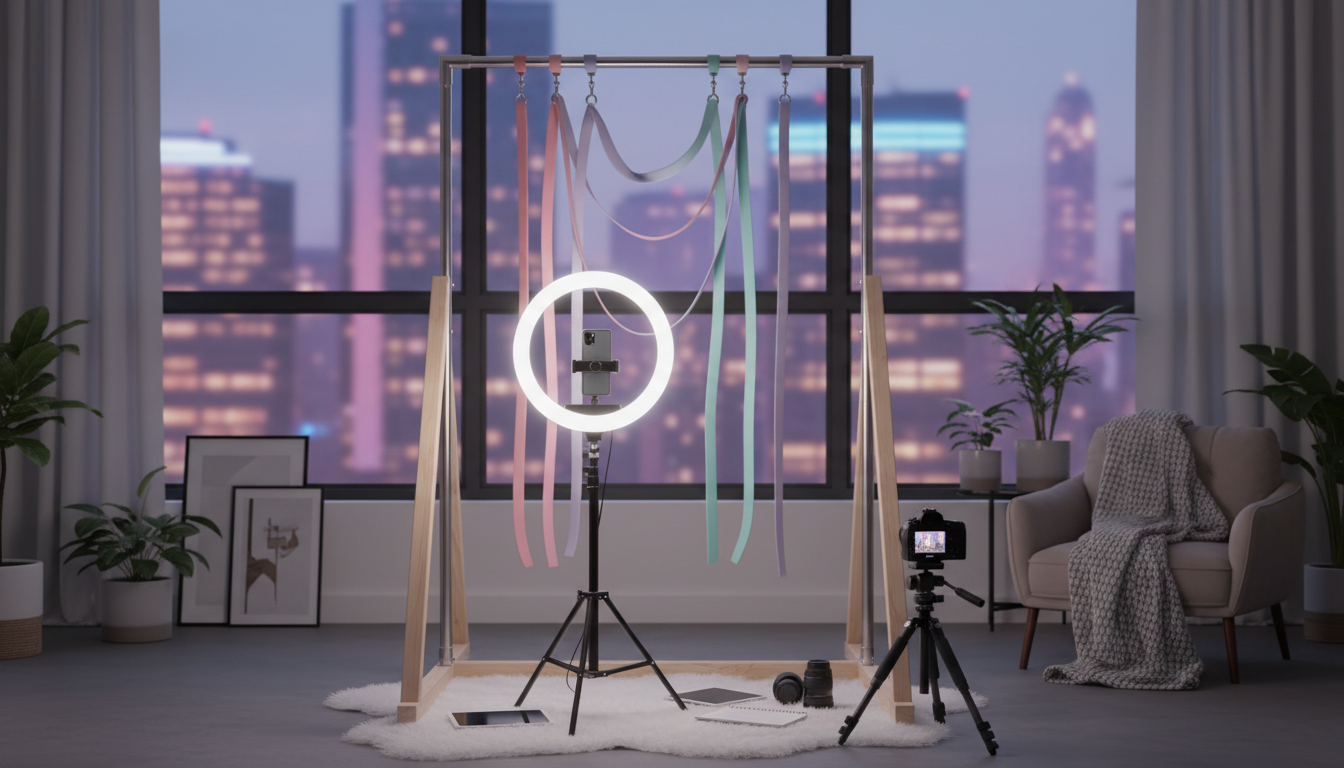
How to Choose a Bondage Suspension Frame
How to Choose a Bondage Suspension Frame
Selecting the right bondage suspension frame is one of the most critical decisions for anyone serious about suspension bondage practice. Whether you're a professional rigger, a bondage model building a home studio, or a photographer creating compelling imagery, the suspension rig you choose directly impacts safety, versatility, and the quality of your work. This comprehensive guide walks you through everything you need to know to make an informed decision, from weight capacity and materials to portability and budget considerations.
Prerequisites
Before investing in a bondage suspension frame, you should:
- Have foundational knowledge of rope bondage and suspension techniques
- Understand basic rigging safety principles and load distribution
- Have adequate space for frame installation (minimum 8x8 feet recommended)
- Budget for both the frame and essential safety equipment (carabiners, rescue shears, crash mats)
- Verify your floor can support concentrated loads if using a freestanding frame
Understanding Suspension Frame Types
Freestanding vs. Mounted Systems
A suspension rack comes in two primary configurations: freestanding frames that require no installation and ceiling-mounted systems that attach to structural beams. Freestanding frames offer portability and rental-friendly solutions, while mounted systems provide maximum stability and often support higher weight capacities.
Freestanding frames typically feature A-frame or cage designs with weighted bases, allowing you to practice suspension bondage without drilling into walls or ceilings. Mounted systems require professional installation but integrate seamlessly into dedicated playspaces.
Portable vs. Permanent Installations
Portable suspension rigs break down for transport and storage, making them ideal for traveling riggers, workshop instructors, or those with limited space. Permanent installations sacrifice portability for superior stability and often include additional attachment points for complex multi-point suspensions.
Key Selection Criteria
Weight Capacity and Safety Ratings
The most critical specification for any bondage suspension frame is its weight capacity. Always choose a frame rated for at least 3-4 times the maximum weight you'll suspend. This safety factor accounts for dynamic loading—the additional force created when a suspended person moves or shifts position.
Standard weight capacity ranges:
- Entry-level frames: 200-300 lbs safe working load
- Professional frames: 400-600 lbs safe working load
- Heavy-duty systems: 800+ lbs safe working load
Frame Material Comparison
| Material | Weight | Durability | Cost | Best For |
|---|---|---|---|---|
| Steel | Heavy | Excellent | $$ | Permanent installations, studios |
| Aluminum | Light | Very Good | $$$ | Portable rigs, travel |
| Powder-coated Steel | Heavy | Excellent | $$-$$$ | Professional use, corrosion resistance |
| Stainless Steel | Heavy | Superior | $$$$ | High-end studios, easy cleaning |
Height and Width Specifications
Standard suspension frames range from 7 to 9 feet in height, with 8 feet being the most versatile option. Consider these factors:
- Minimum height: Should allow suspended person to hang completely free with rigger standing comfortably
- Working height: Account for rope length, hardpoints, and safety margin from floor
- Width: Minimum 6 feet between uprights for full-body suspensions
- Footprint: Ensure adequate clearance around the frame for rigging and safety
Essential Features to Consider
Attachment Point Options
Modern suspension frames offer various attachment configurations:
- Single-point suspension: Center beam with one primary attachment
- Multi-point systems: Multiple hardpoints for complex rigging
- Adjustable rings: Sliding or removable attachment points for versatility
- Rotating elements: Swivels or rotating beams for dynamic suspension work
Stability and Base Design
A quality suspension rig requires a stable base to prevent tipping during use. Key stability features include:
- Wide footprint with low center of gravity
- Weighted base plates or sandbag provisions
- Rubber feet or floor anchoring options
- Cross-bracing between uprights
- Guy-wire or tension strap compatibility for added stability
Step-by-Step Selection Process
- Assess your space: Measure ceiling height, floor space, and account for safety clearance (minimum 3 feet on all sides)
- Determine your primary use: Studio work, performances, photography, or private practice
- Calculate weight requirements: Factor in the heaviest person you'll suspend plus safety margin
- Set your budget: Quality frames range from $500 to $5,000+ depending on specifications
- Research manufacturers: Prioritize companies specializing in bondage equipment with documented safety testing
- Check portability needs: Decide if you need breakdown capability or permanent installation
- Verify assembly requirements: Determine if you can assemble it yourself or need professional help
- Review warranty and support: Ensure manufacturer provides safety documentation and customer support
- Read user reviews: Seek feedback from experienced riggers and suspension practitioners
- Make your purchase: Order from reputable dealers with return policies and safety guarantees
Budget Considerations
Price Ranges and What to Expect
- Entry-level ($500-$1,200): Basic freestanding frames, limited adjustability, suitable for beginners
- Mid-range ($1,200-$2,500): Professional-grade materials, better stability, multiple attachment points
- Professional ($2,500-$5,000): Heavy-duty construction, extensive customization, studio-quality
- Custom systems ($5,000+): Bespoke designs, integrated features, architectural installations
Safety Equipment and Accessories
Your suspension rack requires additional safety equipment:
- Crash mats or padding: 4-6 inches thick, covering entire suspension area
- Rated carabiners: Minimum 25kN rating, locking gate design
- Rescue shears: For emergency rope cutting
- Communication system: Bell or verbal signals for suspended person
- First aid kit: Readily accessible during all suspension activities
Installation and Setup Tips
For Freestanding Frames
- Always assemble on level, solid flooring (avoid carpet when possible)
- Use provided stabilizing weights or add sandbags as specified
- Test stability by applying gradual lateral pressure before any suspension
- Position away from walls, furniture, and other obstacles
- Secure any loose components and verify all connections before each use
For Mounted Systems
- Hire a structural engineer to verify ceiling/beam capacity
- Use only rated hardware (eye bolts, carabiners, chains) specified by manufacturer
- Install into solid structural members, never drywall or ceiling joists alone
- Document installation with photos and load test results
- Schedule annual inspections of mounting hardware and structural integrity
Common Challenges and Solutions
Challenge: Frame Movement During Use
Solution: Add stabilizing weight to base, use rubber matting underneath for grip, or install temporary guy-wires to anchor points. Some practitioners use water-filled containers that can be emptied for transport.
Challenge: Insufficient Height
Solution: Use shorter rope lengths, modify suspension positions to partial suspensions, or consider platform/pedestal systems that elevate the starting position.
Challenge: Limited Attachment Points
Solution: Install a spreader bar across the top beam with multiple rings, use adjustable pulley systems, or upgrade to a frame with integrated multi-point capability.
Challenge: Floor Damage from Frame Weight
Solution: Use large plywood base plates to distribute weight, invest in heavy-duty rubber mats, or consider frames with larger footprint bases that naturally distribute load.
Maintenance and Longevity
Regular maintenance extends the life of your bondage suspension frame:
- Inspect all welds, joints, and connections before each use
- Clean frame regularly to prevent corrosion (especially important for steel)
- Lubricate any moving parts (rings, swivels) according to manufacturer specifications
- Store properly when not in use (if portable), protecting from moisture
- Keep documentation of load tests and any repairs
- Replace any bent, cracked, or damaged components immediately
Frequently Asked Questions
Q: Can I use a doorway pull-up bar or ceiling hooks instead of a dedicated suspension frame?
A: Absolutely not. Doorway bars and standard ceiling hooks are not rated for the dynamic loads of suspension bondage. These can fail catastrophically, causing serious injury. Always use equipment specifically designed and rated for suspension activities, whether that's a proper suspension rig or professionally installed hardpoints verified by a structural engineer.
Q: What's the minimum budget I should allocate for a safe suspension frame?
A: Plan for at least $800-$1,000 for a quality entry-level freestanding suspension rack, plus another $200-$300 for essential safety equipment (crash mats, rated carabiners, rescue tools). Cheaper options exist but often lack proper safety ratings or stability features. This is not an area to cut corners—invest in proven safety.
Q: How much space do I actually need for a suspension frame?
A: Minimum recommended space is 10x10 feet with 8-foot ceilings, though 12x12 feet provides more comfortable working room. This allows the frame footprint plus essential clearance for rigging, photography, and emergency access from all sides. Ceiling height should be at least 8 feet, with 9-10 feet being ideal for full suspensions.
Q: Can I build my own suspension frame to save money?
A: While possible for someone with metalworking expertise, this is generally not recommended unless you have engineering knowledge to properly calculate load ratings and stress points. Commercial frames undergo testing and provide documented weight ratings. DIY frames lack these assurances and create liability issues. If budget is a concern, save longer for a commercial frame rather than risk safety.
Q: How do I know if my floor can support a freestanding suspension frame?
A: Most modern residential floors (built to code) can support the concentrated load of a suspension frame and suspended person, but older homes or upper-floor installations may require verification. Consult a structural engineer if you have concerns, especially for floors that already show sagging or if your frame will be positioned over a basement or crawlspace. Commercial spaces typically have higher load ratings than residential construction.
Conclusion
Choosing the right bondage suspension frame requires careful consideration of safety ratings, space requirements, intended use, and budget. Prioritize frames from reputable manufacturers with documented weight capacities and proper safety certifications. Whether you select a portable suspension rig for workshops and travel or a permanent installation for your studio, never compromise on structural integrity and stability.
Start by measuring your space and determining your maximum weight requirements, then research frames that exceed those specifications by a comfortable safety margin. Invest in quality crash mats and safety equipment alongside your frame purchase. As you gain experience, you can always upgrade to more sophisticated systems, but beginning with a solid, safe foundation is essential for responsible suspension practice.
Your next steps should include connecting with experienced riggers in your community, taking suspension safety workshops, and thoroughly reading all manufacturer documentation before your first suspension session. Safety and education always come first in this demanding but rewarding art form.