
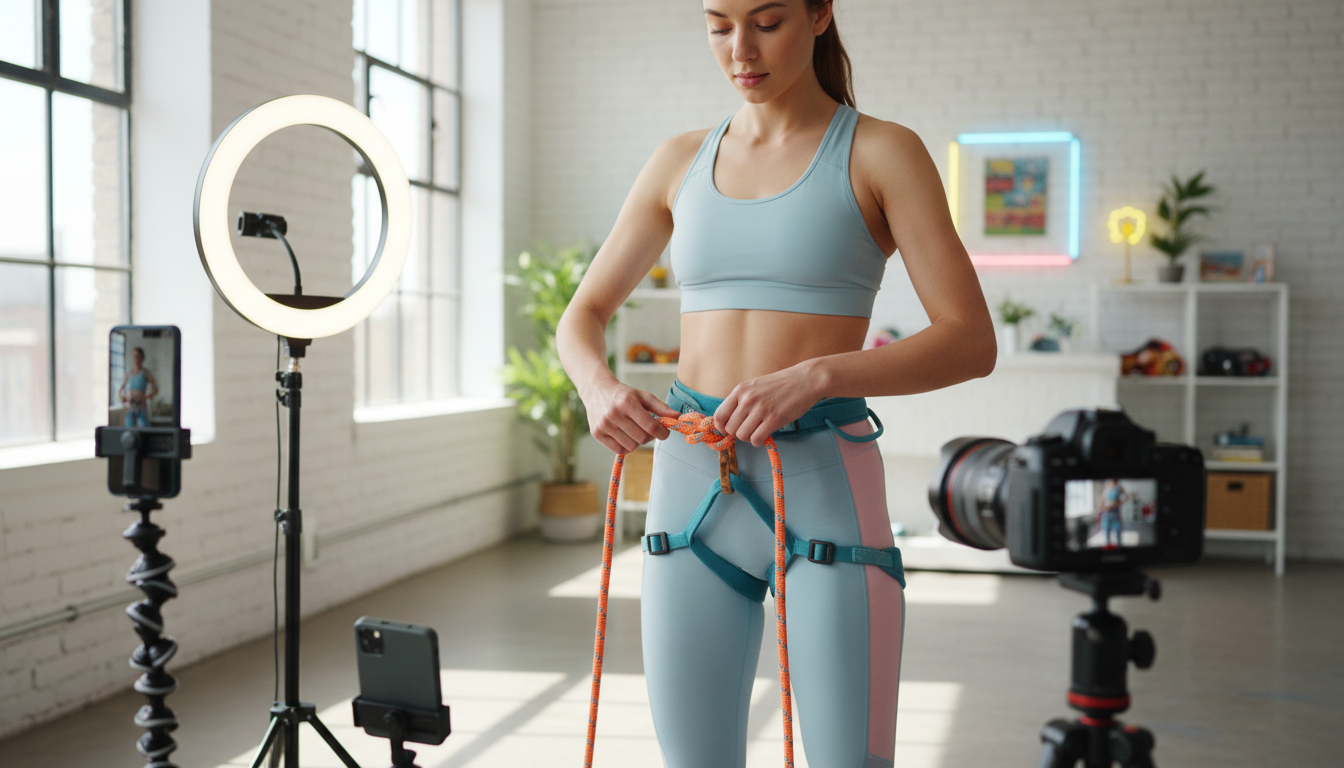
How to Tie a Rope Harness Around the Hips
How to Tie a Rope Harness Around the Hips
A rope harness around the hips is one of the foundational techniques in bondage modeling and shibari practice. Whether you're a model preparing for a photoshoot, a rigger developing your skills, or simply exploring rope bondage as an art form, mastering the hip harness bondage technique provides a versatile foundation for more complex ties. This comprehensive guide will walk you through creating a secure, comfortable, and aesthetically pleasing shibari hip tie that can stand alone or serve as an anchor point for additional rope work.
Prerequisites and Safety Considerations
Before beginning any rope work, ensure you have the proper foundation:
Essential Materials
- Rope: 25-30 feet of 6mm natural fiber rope (jute or hemp recommended)
- Safety scissors: Within arm's reach at all times
- Communication method: Establish verbal and non-verbal safe signals
- Comfortable space: Clear area with adequate room to work
Safety Requirements
- Never tie around the neck or in ways that restrict breathing
- Avoid prolonged pressure on nerves, joints, or bony prominences
- Check circulation regularly (fingers should remain warm and pink)
- Obtain explicit, enthusiastic consent before and throughout the session
- Never leave a tied person unattended
- Be prepared to release all bondage quickly in case of emergency
Understanding Hip Harness Bondage Fundamentals
The hip harness serves multiple purposes in rope bondage. It creates visual interest around the pelvic region, provides structural support for suspended ties, and offers anchor points for connecting additional rope elements. Unlike more complex full-body harnesses, the hip harness bondage technique focuses specifically on the waist and hip area, making it an excellent starting point for beginners while remaining useful for advanced practitioners.
Comparison of Hip Harness Styles
| Style | Difficulty | Time Required | Best Used For | Aesthetic Appeal |
|---|---|---|---|---|
| Basic Single Hip Belt | Beginner | 3-5 minutes | Foundation work, quick sessions | Minimal, functional |
| Double-Wrap Hip Harness | Intermediate | 8-12 minutes | Photography, standard practice | Moderate, clean lines |
| Decorative Shibari Hip Tie | Advanced | 15-20 minutes | Art photography, performances | High, intricate patterns |
| Hip Harness with Leg Loops | Intermediate | 10-15 minutes | Full-body ties, suspension prep | High, comprehensive |
Step-by-Step Instructions for the Basic Hip Harness
Finding the Center Point
- Locate the rope center: Fold your rope in half to find the midpoint (bight)
- Position the bight: Place the center point at the front of the waist, just above the hip bones
- Check alignment: Ensure both rope ends are equal length before proceeding
- Establish tension: Hold the bight firmly while maintaining comfortable pressure
Creating the Foundation Wrap
- Wrap around the waist: Bring both rope ends around the back, crossing at the spine
- Return to the front: Continue wrapping until both ends meet at the starting point
- Maintain consistent tension: The rope should be snug but not constricting (able to fit two fingers underneath)
- Secure the first wrap: Pass both working ends through the bight loop at the front
- Create the second wrap: Repeat the wrapping process, positioning this wrap just below the first
- Parallel alignment: Ensure both wraps sit parallel and evenly spaced
Adding Structural Elements
- Create vertical cinching: Use remaining rope to cinch between the two horizontal wraps
- Work from front to back: Weave the rope between wraps, pulling them closer together
- Distribute tension evenly: Ensure cinching doesn't bunch or create uncomfortable pressure points
- Finish with a secure knot: Use a square knot or bow at the front for quick release
- Final inspection: Check all wraps for consistent tension and proper placement
Essential Techniques and Tips
Mastering the hip harness requires attention to several key elements:
Tension Management
- Start loose, adjust tighter: It's easier to tighten rope than to loosen it once set
- Monitor breathing: The bottom should breathe freely and comfortably throughout
- Check regularly: Assess comfort levels every 5-10 minutes during extended sessions
- Watch for color changes: Skin should maintain normal color; red or white spots indicate problems
Aesthetic Considerations
- Symmetry creates visual appeal in photographic work
- Rope placement should follow natural body curves
- Consider the final pose when planning rope placement
- Use contrasting rope colors against skin tone for photography
Communication Protocols
- Establish clear safe words before beginning (commonly: "yellow" for caution, "red" for stop)
- Ask for verbal confirmation of comfort at regular intervals
- Watch for non-verbal distress signals (tension, restricted breathing, grimacing)
- Create a non-verbal signal for situations where speaking is difficult
Common Challenges and Solutions
Rope Slipping or Sliding
Problem: The hip harness bondage shifts or slides down during movement or subsequent rope work.
Solutions:
- Increase initial tension slightly (while maintaining comfort)
- Add friction wraps at the back before securing
- Use textured rope (jute or hemp) rather than smooth synthetic materials
- Position the harness at the natural narrowing point of the waist
- Add vertical connecting points to other rope elements for stability
Uneven Tension Distribution
Problem: One side feels tighter than the other, creating discomfort or aesthetic imbalance.
Solutions:
- Measure rope lengths carefully before beginning
- Maintain consistent hand positioning throughout wrapping
- Have the bottom stand naturally rather than posing during tying
- Adjust by carefully loosening and re-tensioning specific sections
- Practice maintaining even pressure with both hands
Nerve Pressure or Numbness
Problem: The bottom reports tingling, numbness, or shooting sensations.
Solutions:
- Immediately check rope placement near hip bones and lower spine
- Ensure rope sits on soft tissue, not directly over bony prominences
- Loosen tension if any neurological symptoms appear
- Reposition wraps higher or lower to avoid pressure points
- Remove the tie completely if symptoms persist after adjustment
Advanced Variations and Applications
Once you've mastered the basic shibari hip tie, you can explore variations:
Integration with Full-Body Harnesses
The hip harness serves as an anchor point for:
- Chest harnesses (connecting at the back)
- Leg ties (using the hip wraps as attachment points)
- Suspension lines (distributing weight across hips rather than single points)
- Decorative rope work (creating geometric patterns across the torso)
Photography-Specific Styling
For bondage modeling shoots:
- Layer multiple colors of rope for visual depth
- Add decorative knots at strategic points
- Consider camera angles when planning rope placement
- Coordinate rope color with wardrobe elements
- Use the harness as a framing device for other body areas
Frequently Asked Questions
What type of rope works best for a hip harness?
Natural fiber ropes like jute or hemp (6mm diameter) work best for hip harness bondage. These materials provide excellent friction to prevent slipping, hold knots securely, and create beautiful aesthetics for photography. Synthetic ropes like cotton are softer but may slip more easily. For beginners, treated jute offers a good balance of grip and comfort. Always avoid hardware store utility rope, which can contain harmful chemicals and splinter easily.
How tight should a hip harness be?
A properly tied hip harness should be snug enough to stay in place during movement but loose enough to fit two fingers comfortably between the rope and skin. The bottom should be able to breathe normally, move without restriction, and feel no pinching or cutting sensations. Tension that's too tight can cause bruising, nerve compression, or breathing difficulties, while too-loose rope will slip and fail to provide adequate support for additional rope work or aesthetic appeal.
Can a hip harness be used for suspension?
A basic hip harness alone should never be used as the sole support point for full-body suspension, as this concentrates dangerous amounts of pressure on the pelvic region and can cause serious injury. However, a well-constructed shibari hip tie can serve as one of multiple support points in a suspension rig, helping distribute weight across several body areas. Always use proper suspension techniques that spread load across multiple secure points and never attempt suspension without extensive training and safety knowledge.
How long can someone safely wear a hip harness?
The safe duration for wearing a hip harness varies based on individual factors, rope tension, and body position. For static poses with proper tension, 20-30 minutes is generally safe for most people. However, you should check circulation and comfort every 5-10 minutes regardless of duration. Signs that rope should be removed include numbness, tingling, color changes in the skin, difficulty breathing, or any report of pain. Always prioritize the bottom's comfort and safety over completing a scene or photoshoot.
What's the difference between a hip harness and a waist rope?
A waist rope is a single wrap around the waist, often used as a quick restraint or foundation element. A hip harness bondage tie involves multiple wraps, cinching, and structural elements that create a more stable, decorative, and functional piece. The hip harness distributes pressure more evenly, provides better anchor points for additional rope work, and creates more visual interest for photography and artistic expression. Hip harnesses require more rope (25-30 feet vs. 10-15 feet) and time to complete but offer significantly more versatility in both practical and aesthetic applications.
Conclusion and Next Steps
Mastering the hip harness is an essential skill for anyone serious about bondage modeling or rope work. This foundational technique opens doors to more complex ties, provides a versatile base for photographic work, and demonstrates your understanding of safety and technique fundamentals. Practice these steps with clear communication, prioritize safety above all else, and respect the trust your partner places in your hands.
For continued development, consider exploring chest harnesses, learning to combine hip ties with leg bondage, or studying traditional shibari patterns that incorporate hip elements. Always continue your education through reputable sources, workshops, and experienced practitioners who emphasize consent and safety. Remember that rope bondage is both an art form and a responsibility—approach it with patience, respect, and dedication to ongoing learning.