
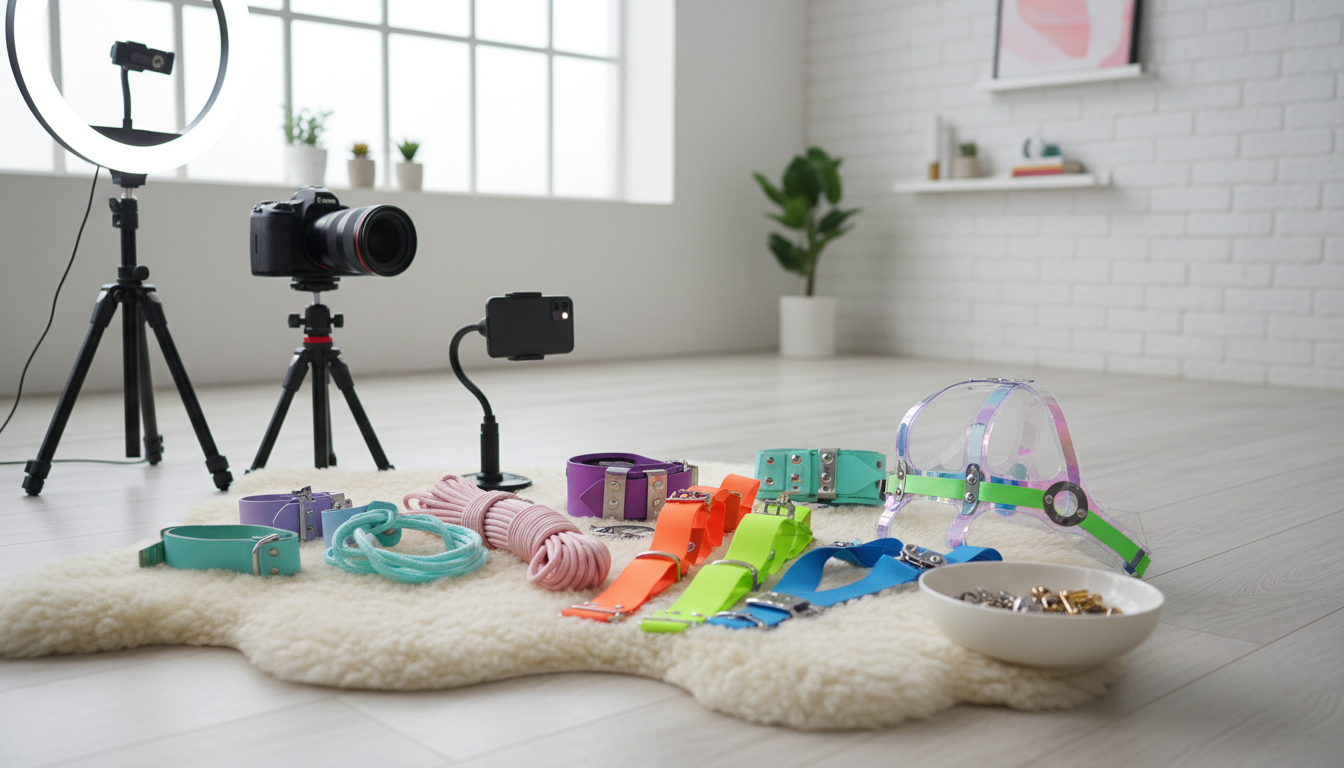
Bondage Restraints and Cuffs: Types and Uses
Bondage Restraints and Cuffs: Types and Uses
This comprehensive guide explores the diverse world of bondage restraints and equipment, designed for both newcomers to bondage modeling and experienced practitioners seeking to expand their gear selection. Understanding the various restraint types, cuff styles, and equipment options available is essential for safe, comfortable, and effective bondage work. Whether you're a model building your professional toolkit, a photographer preparing your studio, or an enthusiast exploring this art form, this guide provides practical insights into selecting and using restraint equipment responsibly.
Prerequisites and Safety Foundations
Before working with any bondage restraints or cuffs, establish these fundamental requirements:
- Consent and Communication: All parties must provide informed, enthusiastic consent and establish clear boundaries
- Safety Tools: Keep safety shears or EMT scissors immediately accessible to quickly release restraints in emergencies
- Physical Assessment: Understand any medical conditions, joint issues, or circulation problems that may affect restraint use
- Safe Words/Signals: Establish clear communication methods, including non-verbal signals if gags are involved
- Basic Anatomy Knowledge: Learn about nerve pathways, pressure points, and areas to avoid when applying restraints
Understanding Restraint Categories
Bondage restraints fall into several distinct categories, each serving different purposes in modeling, photography, and performance contexts. The primary restraint types include quick-release systems, locking mechanisms, and decorative versus functional equipment options.
Wrist and Ankle Restraints
Wrist and ankle cuffs represent the most common entry point into restraint equipment. These foundational pieces come in numerous materials and construction styles:
Leather Cuffs: Traditional leather restraints offer durability, aesthetic appeal, and variable padding levels. Quality leather cuffs feature rolled edges to prevent cutting into skin, adjustable buckles for proper fit, and D-rings for attachment points. They require maintenance with leather conditioner but can last for years.
Neoprene and Padded Cuffs: These modern cuff styles prioritize comfort during extended wear. The padding distributes pressure evenly, reducing the risk of nerve compression or circulation issues. Neoprene is particularly popular in professional modeling because it photographs well and accommodates various body types.
Medical-Grade Restraints: Designed originally for healthcare settings, these restraints emphasize safety and quick release. They're excellent choices for beginners due to their foolproof design and immediate accessibility in emergency situations.
Comparison of Common Cuff Materials
| Material | Durability | Comfort Level | Maintenance | Best For | Price Range |
|---|---|---|---|---|---|
| Leather | Excellent (5-10 years) | Good with padding | Regular conditioning required | Professional photography, aesthetic appeal | $30-$150 per pair |
| Neoprene | Very Good (3-5 years) | Excellent | Wash with mild soap | Extended sessions, sensitive skin | $25-$80 per pair |
| Vinyl/PU Leather | Fair (1-3 years) | Moderate | Wipe clean | Budget-conscious beginners | $15-$40 per pair |
| Medical Grade | Excellent (institutional use) | Excellent | Disinfect regularly | Maximum safety priority | $40-$100 per pair |
| Metal | Permanent | Poor without padding | Minimal | Short-term use, aesthetic | $20-$200 per pair |
Specialized Restraint Equipment
Full-Body Restraint Systems
Beyond basic cuffs, full-body systems offer comprehensive restraint options for advanced bondage modeling work:
- Body Harnesses: Distribute pressure across larger surface areas, ideal for suspension or extended positioning
- Bondage Beds and Frames: Stationary equipment providing multiple attachment points for various poses
- Spreader Bars: Maintain specific distances between restraint points, creating distinctive positions
- Bondage Tape and Wraps: Non-adhesive materials that stick only to themselves, useful for mummification aesthetics
Collar and Neck Restraints
Neck restraints require exceptional caution due to the vulnerable structures in this area. Posture collars and restraint collars serve different purposes—posture collars restrict movement while maintaining proper alignment, whereas restraint collars provide attachment points. Never apply pressure to the front of the throat, and ensure collars allow normal breathing and swallowing.
Selecting Appropriate Equipment: A Step-by-Step Process
Follow this systematic approach when choosing restraint equipment for your needs:
-
Define Your Purpose: Determine whether restraints are for photography, performance, personal exploration, or professional modeling work. Photography often prioritizes aesthetics, while extended sessions emphasize comfort.
-
Assess Experience Level: Beginners should start with quick-release systems and avoid complex restraints requiring extensive knowledge. Progress gradually to more advanced gear selection as skills develop.
-
Consider Body Type and Fit: Try equipment before purchasing when possible. Adjustable restraints accommodate different body sizes, but check maximum and minimum dimensions. Cuff styles that work for one person may not suit another.
-
Evaluate Quality Indicators: Examine stitching, hardware quality, and edge finishing. Double-stitched seams, stainless steel hardware, and finished edges indicate quality construction that will perform safely.
-
Budget Appropriately: Invest in quality for frequently-used items. A reliable pair of wrist cuffs used regularly justifies higher cost, while specialized equipment used occasionally can be budget-friendly.
-
Test Safety Features: Verify that quick-release mechanisms function smoothly and that emergency removal is possible. Practice releasing restraints quickly before any actual use.
-
Plan for Cleaning and Storage: Consider maintenance requirements and storage space. Equipment must be cleaned between uses and stored properly to maintain integrity.
Proper Application Techniques
Key Safety Principles
When applying any restraint equipment, these fundamental principles ensure safe practice:
- The Two-Finger Rule: You should always be able to slide two fingers between the restraint and skin, ensuring adequate circulation
- Regular Monitoring: Check restrained areas every 5-10 minutes for color changes, temperature differences, numbness, or tingling
- Nerve Awareness: Avoid pressure on nerve pathways, particularly at wrists, elbows, knees, and ankles
- Time Limits: Even comfortable restraints should be removed or adjusted every 20-30 minutes to allow circulation recovery
Attachment and Connection Methods
Understanding attachment hardware improves both safety and versatility:
- Carabiners: Spring-loaded or screw-gate carabiners provide secure, detachable connections
- Snap Hooks: Quick-attachment options suitable for non-weight-bearing connections
- D-Rings and O-Rings: Built into cuffs and collars as attachment points for various configurations
- Double-Ended Clips: Connect two restraint points together with adjustable positioning
Common Challenges and Solutions
Even experienced practitioners encounter difficulties with restraint equipment. Here are solutions to frequent issues:
Problem: Restraints Leave Marks or Cause Discomfort
Solution: Marks indicate excessive pressure or extended wear time. Add padding, loosen restraints to maintain the two-finger rule, or reduce session duration. Neoprene cuff styles distribute pressure better than narrow restraints.
Problem: Difficulty Finding Properly-Fitting Equipment
Solution: Look for adjustable restraint types with wide size ranges. Many manufacturers now offer plus-size specific equipment options. Custom-made restraints, while more expensive, ensure perfect fit for unique requirements.
Problem: Gear Selection Overwhelm
Solution: Start with a basic set: padded wrist cuffs, ankle cuffs, and a connector. This foundation allows numerous positions while you learn preferences. Expand your collection based on actual needs rather than perceived wants.
Problem: Quick-Release Mechanisms Jamming
Solution: Regularly inspect and maintain hardware. Keep buckles and releases clean and lubricated. Always test mechanisms before each session and keep safety shears accessible as backup.
Problem: Budget Constraints Limiting Quality Equipment
Solution: Prioritize one or two high-quality, versatile pieces over multiple cheap items. Quality wrist cuffs with multiple attachment points provide more value than several poorly-made specialized restraints. Consider purchasing professional-grade equipment gradually.
Maintenance and Longevity
Proper care extends equipment life and maintains safety standards:
- Clean equipment after each use according to material requirements
- Inspect hardware, stitching, and materials regularly for wear
- Store restraints flat or hanging to prevent creasing and stress points
- Condition leather items every 3-6 months
- Replace equipment showing significant wear, fraying, or hardware damage
Frequently Asked Questions
Q: What are the safest restraints for someone completely new to bondage modeling?
A: Medical-grade restraints or padded neoprene cuffs with Velcro closures offer the safest starting point. These restraint types feature quick-release mechanisms, comfortable materials, and intuitive application. Avoid metal handcuffs or rigid restraints until you understand circulation monitoring and proper fit. Always practice with someone experienced or take classes from certified educators.
Q: How tight should bondage cuffs be applied?
A: Follow the two-finger rule religiously—you should always fit two fingers comfortably between the cuff and skin. Restraints should be snug enough to prevent escape (if that's the goal) but never tight enough to restrict blood flow. Check restrained areas every 5-10 minutes for color changes, temperature differences, numbness, or tingling, which indicate dangerous pressure.
Q: Can I use the same restraint equipment on different people?
A: Yes, but thorough cleaning between users is essential. Leather restraints should be wiped down with appropriate leather cleaner. Neoprene and synthetic materials can be washed with antibacterial soap. For professional modeling environments, consider using barriers like stockings under cuffs or maintaining person-specific equipment. Never share equipment that has contacted bodily fluids without proper sterilization.
Q: What's the difference between bondage cuffs and handcuffs?
A: Bondage cuffs are specifically designed for extended wear and safety, featuring padding, adjustable sizing, and pressure distribution. Metal handcuffs, designed for law enforcement, lack padding, can cause nerve damage quickly, and often have limited quick-release options. Even if aesthetically appealing, real handcuffs are dangerous for bondage purposes. Choose cuff styles designed specifically for this application.
Q: How much should I expect to invest in quality starter restraint equipment?
A: A basic quality set including padded wrist cuffs, ankle cuffs, and connectors typically ranges from $80-$200. This investment provides safe, comfortable equipment that will last years with proper care. Budget options exist for $40-$60, but prioritize quality for items used frequently. Remember that gear selection should emphasize safety over cost savings—inadequate equipment can cause injury.
Conclusion and Next Steps
Understanding the diverse landscape of bondage restraints and cuffs empowers you to make informed decisions about equipment options that suit your specific needs. Whether you're building a professional modeling toolkit or exploring bondage as an art form, prioritizing quality, safety, and proper technique ensures positive experiences.
For your next steps, consider starting with a versatile foundation: quality padded wrist and ankle cuffs with multiple attachment points. Practice application techniques on yourself or a trusted partner, focusing on monitoring circulation and comfort. As you gain experience, gradually expand your collection based on actual preferences rather than assumptions.
Consider taking workshops from experienced educators, joining respectful online communities focused on safety education, and continually expanding your knowledge about anatomy, nerve pathways, and restraint types. The bondage modeling community values informed practice, enthusiastic consent, and artistic expression—qualities that begin with understanding your equipment thoroughly.