
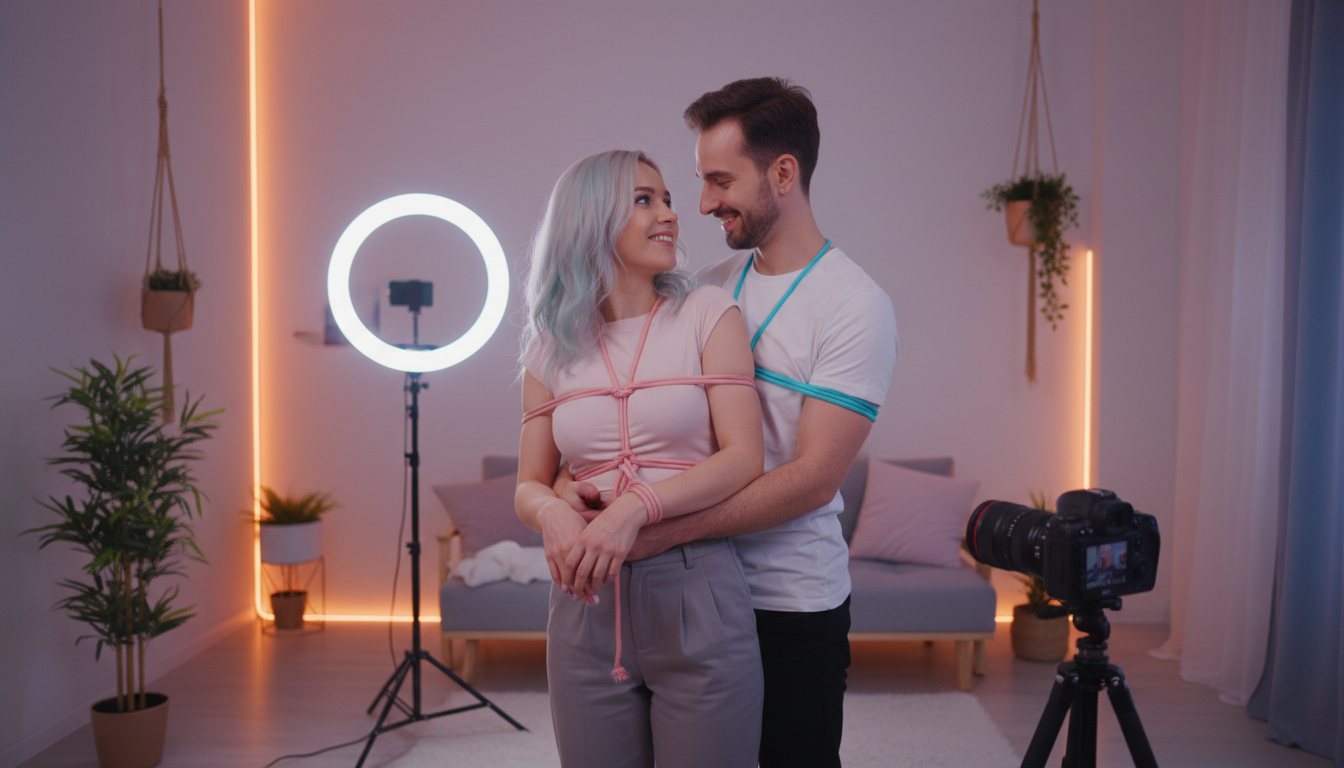
Bondage Positions for Beginners
Bondage Positions for Beginners: A Complete Safety-First Guide
Bondage positions form the foundation of rope work and restraint play in the bondage modeling world. This comprehensive guide introduces beginner bondage positions that prioritize safety, comfort, and aesthetic appeal. Whether you're exploring bondage as an artistic expression, preparing for modeling work, or simply curious about easy bondage poses, understanding proper positioning techniques is essential. This guide covers everything from basic wrist ties to comfortable full-body positions, ensuring you develop skills safely and confidently.
Prerequisites for Safe Bondage Practice
Before attempting any bondage positions, ensure you have the following foundations in place:
- Safety scissors or EMT shears - Keep these accessible at all times for emergency release
- Quality rope or restraints - Soft cotton or silk rope (6-8mm diameter) for beginners
- Clear communication system - Establish safewords and non-verbal signals
- Basic anatomy knowledge - Understanding nerve locations and circulation points
- Adequate time - Never rush bondage sessions
- Sober participants - Both parties should be completely clear-headed
- Privacy and comfort - A safe space with comfortable temperature and padding
Understanding Bondage Position Classifications
Bondage positions fall into several categories based on the body's orientation and the complexity of restraints. The table below compares common position types suitable for beginners:
| Position Type | Difficulty Level | Comfort Duration | Safety Considerations | Best For |
|---|---|---|---|---|
| Wrist Restraints | Beginner | 30-45 minutes | Monitor hand circulation | Photography, light play |
| Ankle Restraints | Beginner | 20-30 minutes | Check foot sensation | Stationary poses |
| Seated Positions | Beginner | 15-25 minutes | Support lower back | Comfortable sessions |
| Kneeling Poses | Intermediate | 10-20 minutes | Pad knees, monitor legs | Artistic photography |
| Standing Ties | Intermediate | 15-25 minutes | Balance and stability | Dynamic modeling |
| Lying Positions | Beginner | 30+ minutes | Breathing clearance | Relaxed practice |
Essential Beginner Bondage Positions
Basic Wrist Tie (Behind Back)
The foundation of many beginner bondage positions starts with a simple wrist restraint. This classic pose creates elegant lines while remaining comfortable and safe.
Step-by-step process:
- Have the restrained person stand or sit comfortably with hands behind their back
- Cross wrists at a natural angle, ensuring no strain on shoulders
- Wrap rope around both wrists 3-4 times, maintaining consistent tension
- Create a cinch between the wrists by wrapping rope between them
- Tie off with a secure but quick-release knot
- Check circulation by asking about sensation and observing hand color
- Verify two fingers can slip between rope and skin
Seated Chair Position
This comfortable position works excellently for extended sessions and photography. The seated position provides stability while allowing for various arm and leg configurations.
Secure the person to a sturdy chair using these attachment points:
- Wrists to chair arms or behind the chair back
- Ankles to chair legs (separately, never together)
- Optional chest harness around the torso and chair back
- Maintain upright posture with lower back support
Ankle Cross Position (Lying)
Among the most comfortable easy bondage poses, this position involves lying face-up with ankles crossed and bound. It's perfect for beginners because it allows complete relaxation while creating visually appealing lines.
Position the person on a comfortable surface (bed, padded mat, or yoga mat) with knees slightly bent. Cross ankles naturally and bind them with 3-4 wraps of rope, ensuring the knot sits away from bones and joints.
Kneeling Position with Wrist-to-Thigh Tie
This intermediate beginner position creates beautiful symmetry while keeping the person stable and grounded. Have the person kneel with knees hip-width apart, then secure each wrist to its corresponding thigh using separate rope sections.
Key safety points:
- Place padding under knees
- Monitor leg sensation every 5-7 minutes
- Keep upper body upright to prevent strain
- Limit duration to 15 minutes maximum initially
Critical Safety Guidelines for All Positions
Every bondage session, regardless of the positions used, must follow these non-negotiable safety protocols:
- Never leave a bound person alone - Not even for a moment
- Avoid the neck area completely - Pressure on the neck is extremely dangerous
- Monitor circulation constantly - Check for numbness, tingling, color changes, or temperature differences
- Respect nerve pathways - Avoid pressure on inner arms, behind knees, and outer thighs
- Start with shorter durations - Build tolerance gradually over multiple sessions
- Maintain clear communication - Check in verbally every few minutes
- Keep emergency tools nearby - Safety scissors should be within immediate reach
Progressive Learning Path for Bondage Positions
Develop your skills methodically by following this numbered progression:
- Week 1-2: Practice basic wrist and ankle ties on yourself or a mannequin to understand rope mechanics
- Week 3-4: Work with a partner on single-point restraints (one wrist, one ankle) with 5-10 minute sessions
- Week 5-6: Progress to two-point restraints (both wrists OR both ankles) with proper circulation checks
- Week 7-8: Introduce seated positions combining multiple restraint points
- Week 9-10: Experiment with lying positions and extended comfort duration
- Week 11-12: Advance to kneeling and standing positions with spotter assistance
Common Challenges and Solutions
Challenge: Rope Burns or Skin Irritation
Solution: Use softer rope materials like cotton or silk rather than synthetic ropes. Apply rope over clothing initially, and always maintain consistent tension without sawing rope across skin. If irritation occurs, apply aloe vera gel and avoid that area in future sessions.
Challenge: Numbness or Tingling
Solution: These symptoms indicate compromised circulation or nerve pressure. Release restraints immediately, never waiting to see if it improves. Help the person move the affected limb gently, and do not resume bondage in that session. Adjust rope placement, reduce tension, or try different positions in future attempts.
Challenge: Muscle Cramping
Solution: Cramping typically results from maintaining unnatural positions too long. Release restraints and allow full movement. In future sessions, position limbs more naturally, use padding for support, and reduce session duration. Stretching before bondage practice helps prevent cramping.
Challenge: Partner Anxiety or Panic
Solution: Some people experience unexpected anxiety when restrained. Establish clear safewords beforehand, maintain verbal contact throughout, and release restraints immediately if requested. Build trust gradually with shorter, lighter sessions before progressing.
Equipment Recommendations for Beginners
Choosing appropriate equipment makes learning beginner bondage positions safer and more enjoyable:
- Rope: 6mm or 8mm soft cotton rope in 20-30 foot lengths (two pieces minimum)
- Safety tools: EMT scissors or specialized bondage safety shears
- Padding: Yoga mats, pillows, or specialized bondage cushions
- Furniture: Sturdy chairs without arms, or dedicated bondage furniture
- Optional accessories: Soft restraints, under-bed systems for stability
Photography Considerations for Bondage Positions
Many people explore bondage positions for artistic photography. Consider these factors:
- Lighting: Natural lighting highlights rope work and creates depth
- Angles: Shoot from multiple angles to capture position complexity
- Rope color: Contrast rope color with skin tone and clothing
- Expression: Capture both wide shots and close-ups of hands, rope work, and facial expressions
- Comfort: Prioritize model comfort over perfect shots—adjust positions as needed
Frequently Asked Questions
How long can someone safely stay in beginner bondage positions?
For true beginners, limit initial sessions to 10-15 minutes regardless of position comfort. As you develop experience and understand your body's responses, you can gradually extend duration to 20-30 minutes for comfortable positions like wrist ties or lying poses. Always prioritize sensation checks over arbitrary time limits—if numbness or discomfort occurs, release immediately. Standing and kneeling positions typically have shorter safe durations (10-20 minutes) than seated or lying positions.
What's the difference between bondage positions for modeling versus personal practice?
Bondage modeling positions often prioritize aesthetics, symmetry, and photogenic angles, which may sacrifice some comfort for visual impact. These sessions typically involve more frequent breaks, position adjustments, and shorter holds (5-10 minutes) between photos. Personal practice positions can focus more on comfort, sensation, and extended duration without worrying about appearance. However, both contexts require identical safety protocols, communication, and respect for physical limits.
Can you practice bondage positions alone safely?
You should never practice restraint positions alone where you cannot immediately free yourself. However, you can safely practice rope techniques on yourself for wrist ties, ankle ties, or chest harnesses where you maintain full control and can release instantly. Use this solo practice to understand rope mechanics, tension levels, and circulation effects. Always keep safety scissors within reach and never attempt positions that restrict breathing, balance, or quick release capability.
What are the signs I should stop and release bondage immediately?
Release restraints immediately if you observe: numbness or tingling in extremities, color changes (pale, blue, or purple), temperature differences (cold fingers or toes), loss of sensation, inability to move fingers or toes, shooting pains, muscle spasms, dizziness, nausea, difficulty breathing, or emotional distress. Additionally, always respect safewords without question. It's always safer to end early than to push through warning signs.
How do easy bondage poses differ from advanced positions?
Easy bondage poses typically involve fewer restraint points, maintain natural body alignment, avoid stress positions, allow longer comfortable duration, and use accessible release mechanisms. Advanced positions may include suspension elements, multiple complex rope patterns, stress positions requiring core strength, inverted orientations, or intricate shibari ties. Beginners should master comfortable, ground-based positions thoroughly before considering anything more complex, building both technical skills and body awareness over months of practice.
Conclusion and Next Steps
Mastering beginner bondage positions requires patience, clear communication, and unwavering attention to safety. Start with the simplest positions like basic wrist ties and lying ankle restraints, gradually building your skills and confidence over weeks and months. Always prioritize your partner's comfort and safety over achieving a particular aesthetic or duration.
For your next steps, practice each position multiple times with decreasing session durations to understand your body's limits. Document what works well and what causes discomfort. Consider taking a hands-on workshop from experienced practitioners in your area, or studying detailed video tutorials from reputable bondage education platforms. As you develop proficiency with these foundational positions, you'll build the awareness and skills necessary to explore more complex rope work safely and confidently.